
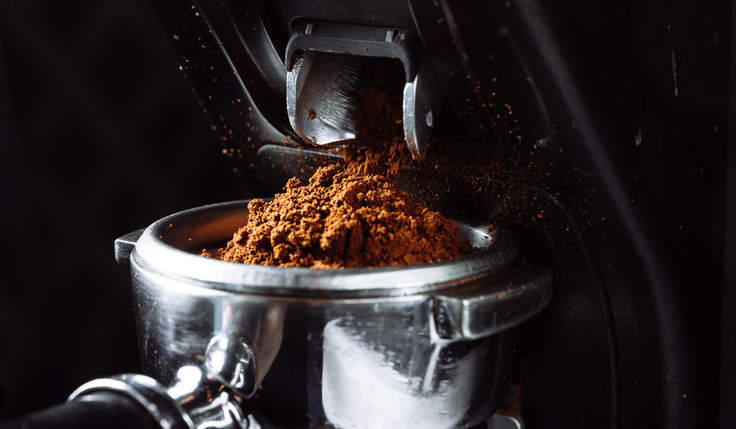
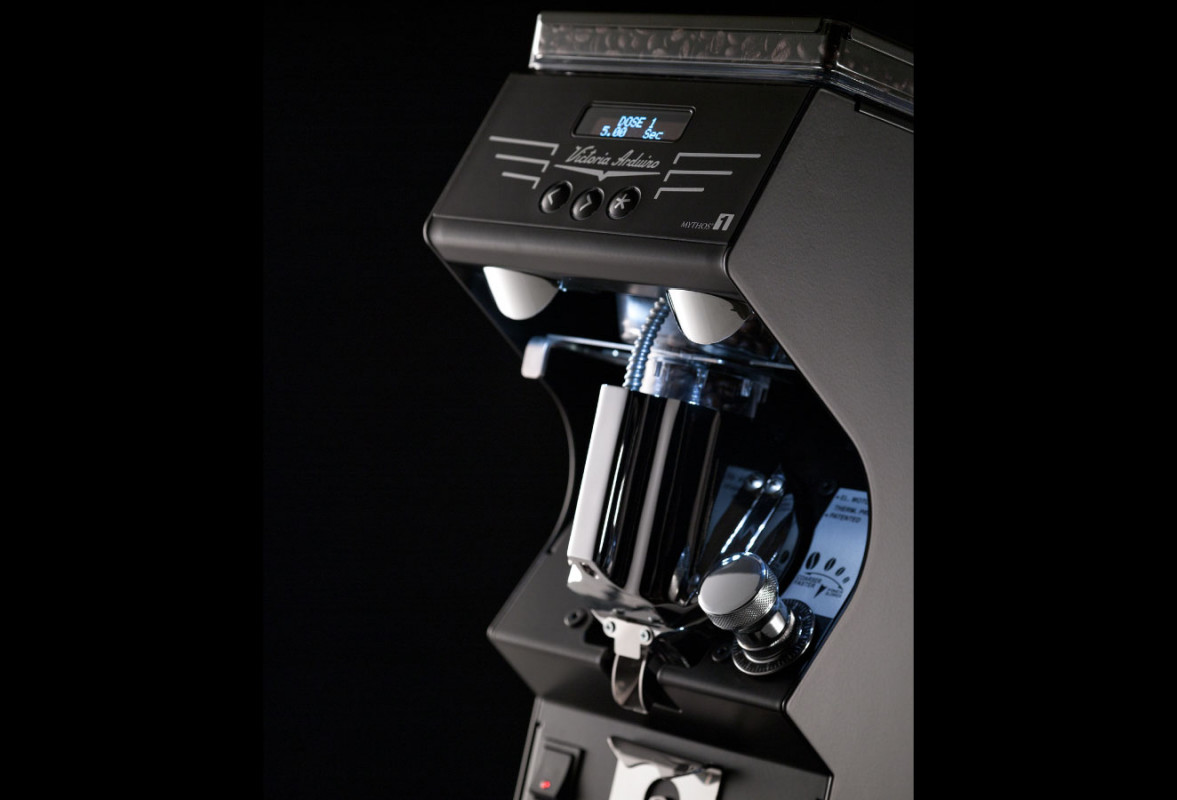
Mythos 1
Grinders
Dial In Video
Short run-time: Less intense and sour
Long run-time: Very intense and bitter
Ideal run-time (25-30 seconds): Balanced flavour between sourness and bitterness
Joe's Recipe:
- Dose 18g
- Yield 36g
- Extraction time 25-30 seconds
Cleaning Video
Daily Cleaning Video
The daily cleaning can be carried out by all staff EOD
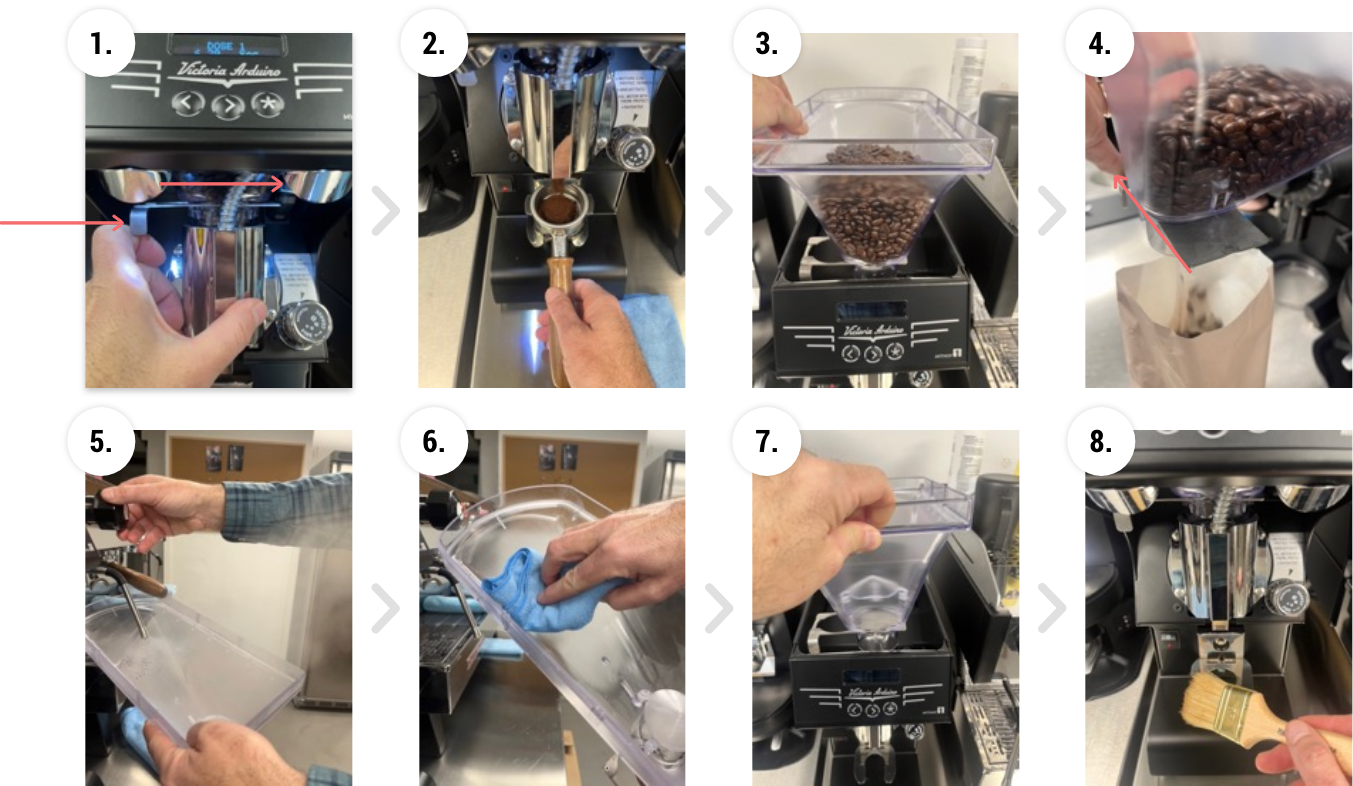
STEP 1: Slide hopper gate closed to the right to prevent coffee from Dropping to burrs
STEP 2: Grind out excess coffee and throw away until burr chamber is empty
STEP 3: Remove hopper from grinder
STEP 4: Empty coffee from hopper into coffee bag for overnight storage
STEP 5: Blow steam from espresso machine wand into hopper to disinfect
STEP 6: Wipe hopper clean with dry non abrasive cloth
STEP 7: Place hopper back onto grinder
STEP 8: Brush away any excess coffee grind
REMEMBER:
- Never place any grinder parts in the dishwasher
- Never clean with anything abrasive
- Do not wet the grinder
- Always handle the grinder with care so not to damage parts
Deep Cleaning Video
The deep cleaning should be carried out by Lead Baristas, Baristas, Regional Managers, Bar Managers, Shift Managers
STEP 1: Slide hopper gate closed to the right to prevent coffee from dropping to burrs
STEP 2: Grind out excess coffee and throw away until burr chamber is empty
STEP 3: Remove hopper from grinder
STEP 4: Empty coffee from hopper into coffee bag for overnight storage
STEP 5: Blow steam from espresso machine wand into hopper to disinfect
STEP 6: Wipe hopper clean with dry non abrasive cloth and place to side
STEP 7: Turn off grinder
STEP 8: Enter from top of grinder and disconnect heating plug
STEP 9: Loosen and remove 4 x screws from burr carrier- loosen by turning anti clockwise
STEP 10: Place screws in a safe spot to the side - DO NOT LOSE!
STEP 11: Remove burr carrier
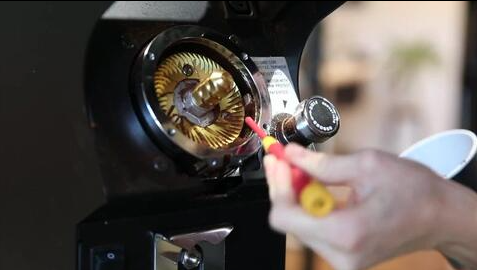
STEP 12: Brush all excess coffee from burrs
STEP 13: Place burr carrier to side along with screws
STEP 14: Use pipe cleaner to free up any coffee grind build up from outside area of burrs
STEP 15: Brush excess coffee from burrs until clean a shown in next picture
STEP 16: Burrs and surrounding area now clean
STEP 17: Gently brush out built up grind from grind chute
STEP 18: Place grinder burr cover back into position
STEP 19: Tighten 4 x screws- by turning clockwise - DO NOT OVERTIGHTEN!
STEP 20: Brush clean any visible excess coffee grind
STEP 21: Place clean and dry hopper back in position and place lid on top
STEP 22: Brush clean any visible excess coffee grind
STEP 23: Cleaning completed
REMEMBER:
- Never place any grinder parts in the dishwasher
- Never clean with anything abrasive
- Do not wet the grinder
- Always handle the grinder with care so not to damage parts