
Cross-contamination involving allergens is a serious health risk if not being taken into consideration when preparing food and beverages. Therefore, it is fundamental that we know;
• The 14 most common allergens
• What allergens can be found in the products we serve at JOE & THE JUICE
• In which situations, they can pose a risk
• How small of an amount is needed to provoke an allergic reaction.
When making food and beverages, JOE & THE JUICE has the responsibility to deliver products which are safe to consume for everyone. Besides having a good hygienic practice, it is also vital to consider allergens and the potential of cross-contamination.
The 14 most common allergens
It is a limited percentage of people in the world which are allergic to food but there are 14 allergens which are the most abundantly occurring. Though, it is possible for some people to be allergic to many other foods that are not required to be claimed by law. For example, some people can be allergic to strawberries or flax seed found in our bread.
Below are two examples of what to do if a guest is allergic to food that is not listed among the 14 most common allergens.
To ensure that the blender is not contaminated with strawberries used to make previous products, we should apply a special procedure of disinfecting the blender in the dishwasher and inform the guest about extended product preparation time (due to time required for dishwasher to wash the blender).
Another example could be that a guest is allergic to flax seeds and is in doubt whether to purchase our sandwich. As we are not able to remove flax seeds from the sandwich bread because it is a pre-made product, we must provide accurate information to the guest and provide them with the product label so they can read themselves about all listed ingredients.
The 14 allergens must be declared by law. They are the following:
• Cereals containing gluten: Wheat, rye, barley and oats.
• Crustaceans: Crabs, lobsters, shrimp, crayfish etc.
• Eggs
• Fish
• Peanuts
• Soybeans
• Milk
• Tree nuts: Almonds, hazelnuts, walnuts, cashews, pecan nuts, brazil nuts, pistachio nuts, macadamia nuts, etc.
• Celery
• Mustard
• Sesame
• Sulphur dioxide: Used as a preservative in food and beverages
• Lupin
• Molluscs: Snails, Clams, Octopus, etc.
Allergens in Joe & The Juice
Out of the 14 most common allergens, the 10 follow- ing allergens are present in our food and beverages: Celery, milk, tree nuts, soy, fish, eggs, gluten, mustard, peanuts and sesame.
In JOE & THE JUICE, there are 10 out of the 14 allergens present in our food and beverages: Celery, milk, tree nuts, soy, fish, eggs, gluten, mustard, peanuts and sesame.
Because of the open kitchen environment of a JOE bar, we cannot promise our guests that the products we serve are 100% without above-mentioned allergens (we should do our best to prevent them from happening). Therefore, it is vital to inform all allergic guests of the risk and circumstances. However, we can take some precautions (see cross-contamination section) to minimize the risk of the allergens appearing in products.
You can find the updated allergens for all products globally on our official website by clicking here.
You will be able to access the allergens page in-store on the POS app menu.
Cross-Contamination
Cross-contamination of allergens is when one allergen transfers over to another food product which shouldn’t contain that specific allergen. Contaminated is usually caused by wrongful food preparation procedures such as using the same cutting board for multiple food preparations without washing the cutting board in between.
For example, if the knife used to cut bread at the sandwich station is transferred to the juice station and used to cut fruit, the fruit may be contaminated with traces of sesame and gluten. See the allergen threshold section to realize how small of an amount can provoke allergic reactions.
Cross-contamination of allergens can easily occur if not being careful while preparing products. Therefore, it is very important to consider the actions below:
Sandwich Station
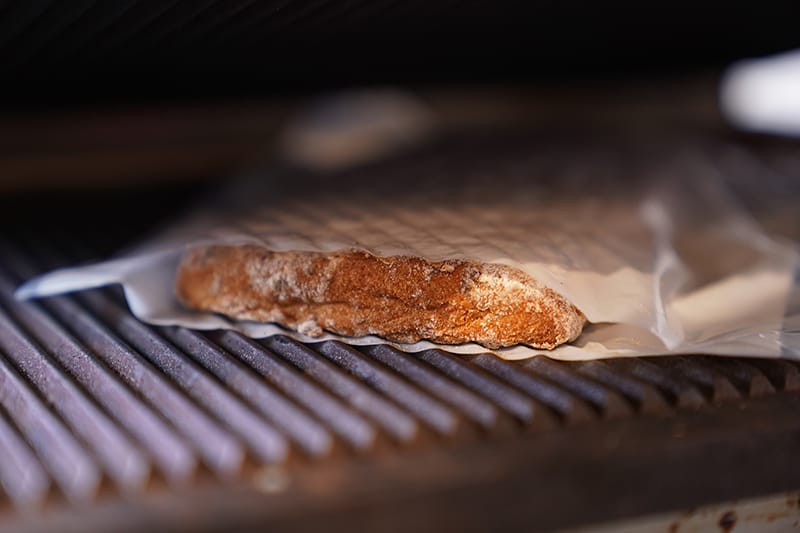
Gluten
By following the gluten-free bread procedure then the bread may not be contaminated with gluten from the regular Joe bread.
Fish/Celery/Mustard/Peanuts
When cutting sandwiches in halves that contain tuna mousse, make sure to wash and disinfect the knife afterwards to avoid contaminating upcoming sandwiches with fish (all markets), celery (Only in Switzerland), mustard (France) and peanuts (Australia).
Peanuts
When cutting sandwiches in halves that contain turkey, make sure to wash and disinfect the knife afterwards to avoid contaminating upcoming sandwiches with peanuts (Australia).
Use of knife
Never use the knife designated to the sandwich station at the juice station to avoid contaminating the juices.
Coffee Station
Milk
When making non-conventional lattes with oat milk, almond milk or coconut milk you may not promise guests that the latte is without traces of cow milk because the same pitcher has contained cow milk.
You shall give the option to rinse the milk pitcher thoroughly but not guarantee that the latte is 100% free of cow milk.
Tree nuts/ Gluten
When making a conventional latte with cow milk you may not promise that the latte is without traces of tree nuts or gluten because the same pitcher has contained oat milk, almond milk and coconut milk.
You shall give the option to rinse the milk pitcher thoroughly but not guarantee guests that the latte is 100% free of tree nuts or gluten.
Allergens Threshold Doses
Below are mentioned allergens threshold doses per specific Joe & the Juice allergen:
- Celery
The minimal dose causing an allergic symptom has not been determined so far. However, 48% of patients undergoing oral provocations with celery developed allergic symptoms at a dose of 0,7 g. - Cereals that contain gluten
For wheat, it has not been accurately established how little wheat causes a reaction. But it clearly indicates that low quantities of wheat flour, i.e. in the milligram to gram range are enough to induce symptoms. - Eggs
Most patients react to doses of egg in the mg (milligram) to g (gram) range – in controlled challenges, 5 per cent of the patients will react to doses below 0,005 g, whereas 50 per cent will experience symptoms when ingesting an amount above 0,1g. It is important to know the threshold dose for individual patients, enabling them to implement a tailor-made avoidance strategy. - Fish
Precaution must be taken since very small amounts(few mg, in other words, a tiny flake) of fish can provoke a reaction in very sensitive persons. A dose of only 0,05g of cod has been described to cause a reaction. Furthermore, some fish allergic persons can get allergic symptoms due to the steam (airborne allergens) from cooking Finally, even a kiss of somebody that has eaten fish can induce a reaction in a fish allergic person. - Milk
The lowest dose of milk protein provoking an allergic reaction according to studies has been reported to range from 0,0006 to 0,18g. - Mustard
In studies, 83% of patients reacted to 0,04g and0, 44g, and 17% reacted to 1,34g. Reactive doses of mustard allergens may be very low since the seasonings contain a higher concentration. - Tree nuts
Almond and Brazil nut: Missing threshold.
Hazelnut: In one study provoking symptoms in hazelnut allergic patients was 0,001g of hazelnut protein. After a dose between 0,03 to 0,1g of hazelnut protein, corresponding to one-third of a nut, all patients had developed an allergic reaction. Minimum provoking doses could be different in this group of tree nuts and might be even lower. - Peanuts
The lowest reported threshold doses for peanut appear to be below or near 0,001g. A tiny piece of a peanut can be a threat to a peanut allergic patient. An average scaled peanut weighs between 0,5g and 1g. This means that 1/1000 of a peanut is enough to trigger a reaction in some patients. - Sesame seeds
Doses as low as 0,1g of sesame seeds or sesame flour and 0,003l of sesame oil were capable to provoke reactions in sesame allergic individuals during a study. Most patients, however, reacted to 2–10 grams of sesame seeds or sesame seed flour. - Soybeans
Thresholds for allergic reactions to soy have not been established accurately. In Sweden, soy was reported to be responsible for 6 out of 12 severe or life-threatening allergic reactions caused by foods during 1993-1996 after intake of an estimated amount of 1-10g of soy. Threshold levels can dif- fer drastically between individuals. Unpublished results from Switzerland suggest that first subjective symptoms may start already at a dose of 0,008g.


